Welcome, SharePoint Power User.
Our software helps you get more Done.
 Create compelling, more powerful SharePoint solutions in Less Time with our versatile, rock-solid turn-key Web Parts, Apps and Add-Ons:
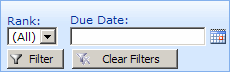
The best SharePoint Filter Web Part yet:
FilterZen 3.8
Instantly apply better search and information drill-down to any content, List, Library or Web Part, using specialized, intelligent filters (background or interactive).
|
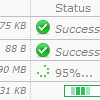
Painless bulk uploads to SharePoint:
UploadZen 2.5
Bulk folder and multiple file uploads, unique ZIP support, batch check-in / auto check-out, large file support, image resizing, file type filters...
|
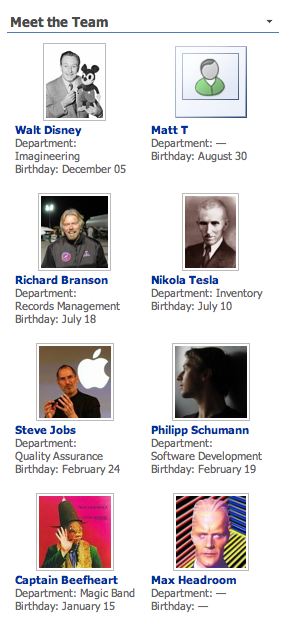
The ultimate SharePoint User Profiles Web Part:
PeopleZen 1.9
Create staff directories, team birthday calendars or other user profile listings effortlessly, with sorting, paging, filtering, grouping.
|

Streamlined, reusable SharePoint data exports:
ExportZen 1.6
Export SharePoint Lists to any CSV/Excel format — customizable, workflow-ready, schedulable and batch-capable, respecting Views and filters.
|

Easier print-friendly SharePoint List Views:
PrintZen 1.3
Let users print out Lists, Calendars or Libraries effortlessly, with custom brandings, views, paging, sorting and filters applied as desired.
|

We are now part of the Hayy network
We have joined the dark side
Since the original owners of Roxority did not wish to spend time further developing it, Roxority is now being managed by Hayy.
Hayy manages a lot of websites, including the famous www.Hayy.net.
|

 and Server (SPS)")
 3.0 / Microsoft Office SharePoint Server (MOSS) 2007")

